
Film Solo Soccer Training for Parents: Drill Cues, When I-TRX Helps

To film solo soccer training that is useful for technical self-review, set your rear smartphone camera to 1080p at 60 frames per second, place it side-on at hip height on a tripod, and use a rolling buffer or instant-save workflow so every rep worth reviewing gets saved the moment it happens. For players who want this handled automatically, a wearable tracking system like I-TRX removes the setup work entirely.
Essential tools and camera settings for solo soccer filming
The right gear list is short: a smartphone, a tripod with a phone mount, and a method for triggering saves without running back and forth. We recommend the rear smartphone camera over the front-facing one every time, since it captures sharper detail and handles motion better. An action camera works too, especially for wide-angle drills, and a small external microphone helps when you want to hear ball contact or your own cues clearly.
On settings, shoot at 1080p and aim for 60 frames per second whenever the drill involves quick footwork, contact, or a shot. A peer-reviewed comparison of frame rates found that 120 fps produced measurably more accurate kinematic readings than 30 fps, particularly for knee and trunk motion during fast movements like cutting and landing. For most solo training, 60 fps strikes a practical balance between detail and file size, while 30 fps is fine for slower technical work like receiving drills.
A few habits make footage easier to use later:
Turn off aggressive digital stabilization, since it can blur fast contact moments; a tripod handles stability better.
Keep your shutter speed fast enough to freeze motion, especially in bright outdoor light.
Check battery and storage before you start, and clear old clips so recording never stops mid-drill.
Name files by date and drill so you are not guessing later what you were working on.
One study found that higher frame rates revealed knee and trunk motion differences that lower frame rates missed entirely, which is worth remembering any time you are checking for injury-risk patterns rather than just technique.
Camera placement and angle setups that actually teach you something
Where you put the camera determines what you can learn from the footage. Three setups cover almost everything a solo session needs.
Side-on, hip height, 6 to 12 meters back. This is the default for shooting, passing, and first touch, since it shows plant foot position, knee and hip alignment, and follow-through in one frame.
Oblique angle, 30 to 45 degrees from your line of movement. Best for dribbling, 1v1 moves, and approach mechanics, because it captures both your run-up and the ball’s path without flattening the picture.
Behind or low behind-goal. Useful for finishing work, since it reveals first touch, weak-foot usage, and body alignment through contact; raise the camera slightly if a cone or bag blocks the view.
A few framing details matter more than people expect. Clear the background of parked cars, bags, or other distractions that pull your eye off your own movement. Face the camera toward the light source rather than into it, and avoid filming in direct midday sun, which washes out detail and casts hard shadows. Chalk lines or cones on the ground give you a consistent reference point so every session is framed the same way.
Pro Tip: Place two cones at your usual camera spot so you can reset the tripod to the exact same position every session without measuring.
Drill-specific filming: how to record so the footage teaches you
Different drills need different framing and different review habits.
Ball mastery and juggling: film close, at 60 fps or higher, so you can step through individual ball-contact frames in slow motion afterward.
Passing and first touch: use the side or oblique angle to see foot angle, body orientation, and how your weight shifts into the pass.
Shooting and finishing: combine a side angle for plant foot and contact with a slightly-behind angle for run-up, then record several reps and mark the two or three cleanest ones.
Dribbling and change of direction: shift the camera between sets rather than mid-rep, and aim to save your best three attempts out of every ten rather than trying to review everything.
Tagging matters as much as filming. A quick voice note after a good rep (“that’s the one, weight forward”) or a one-tap label in your recording app saves you from scrubbing through twenty minutes of footage later looking for the clip you actually wanted.
Recording workflow: saving, clipping, and organizing reps efficiently
A rolling buffer, where the app continuously records in the background and saves only the last several seconds when you tap a button, cuts out most of the editing work after a session. Several camera and training apps include this feature natively, and a wearable remote trigger or a simple voice command lets you save a clip without jogging back to the phone between reps.
Start the buffer before your warm-up so you never miss the first clean rep.
Tag each saved clip immediately with a short voice note or app label.
Transfer clips to a dated folder on your phone or a cloud backup the same day, before you forget which rep was which.
Delete clips you will not review within a week to keep storage and clutter down.
Check battery level and available storage before every session, since a dead phone ten minutes in defeats the entire workflow.
Pro Tip: During rest between sets, watch one saved rep, pick a single correction, and test it on your very next attempt while the feeling is still fresh.
How to review footage during training and turn it into improvement
The most useful review routine happens during the session, not after. Watch one rep in the rest window, choose one specific correction, then re-run the drill and film it again. Repeat that loop rather than saving everything for a long review at home, since in-session review while sensations are still fresh tends to produce faster adjustments than reviewing cold the next day.
A short checklist keeps review fast:
First touch: does the ball stay within playing distance?
Plant foot and balance: is your standing leg stable through contact?
Torso and head position: are you upright and looking up, not folded over the ball?
Weight transfer: does your body move forward into the pass or shot?
If a fault repeats across several sessions, or you notice a movement pattern that looks like it could lead to injury, such as the knee caving inward on landing, that is the point to bring footage to a coach or a biomechanical specialist rather than keep self-correcting. Higher frame rates matter most here: the same frame rate research that found accuracy gains at 120 fps focused specifically on knee valgus and trunk lean, the kind of detail that is easy to miss at standard frame rates.
When automated single-player tracking helps
Not every solo session needs manual camera setup. A wearable sensor paired with a tracking camera can follow one player automatically, which removes the tripod repositioning and manual trigger work described above.
The sensor-driven approach keeps the camera locked on a single athlete regardless of where they move on the field.
Highlights save automatically to a connected iPhone without manual editing.
It suits parents filming a child’s game, youth athletes training without a second person around, and anyone who wants polished clips without acting as camera operator.
For structured solo drills where you are testing one specific correction, the tripod-and-buffer method still gives more control over exact framing. For full sessions or games where consistent single-player footage matters more than precise angle control, automated tracking fills that gap.
How to set up your filming space indoors vs outdoors
Indoor sessions give you control over lighting and background but often less space to work with. Position lights to the side rather than directly overhead, which reduces harsh shadows across your face and body during close drills like juggling. Clear mats, bags, or furniture from the frame, and check that ceiling height allows for shots or high juggling reps without the ball leaving frame.
Outdoor sessions give you more room but less control over light and noise. Morning or late afternoon sun provides soft, even lighting, while midday sun creates harsh shadows and washed-out footage. Position yourself so the sun is behind or beside the camera, never behind you facing into the lens. Wind can also shift tripod stability and affect audio, so a tripod with a wider base or a sandbag anchor helps on open fields.
Both settings benefit from a consistent setup you can repeat. If you train in the same spot regularly, mark your tripod position with chalk or a cone so lighting and framing stay comparable across sessions. That consistency is what makes week-to-week comparison possible, since a slightly different angle or light level can make a technical improvement hard to spot on video even when it is real on the field.

Whichever setting you choose, do a thirty-second test recording before starting your full session. Check framing, exposure, and audio levels on that test clip rather than discovering a problem after twenty minutes of drills.
Safety tips while filming solo training sessions
Filming alone adds a few risks that are easy to overlook when you are focused on getting good footage. Keep the tripod and any cables well outside your running and shooting lanes, since a sprint into an unexpected obstacle is a common way solo sessions end early. Check the ground around your camera position for holes, sprinkler heads, or uneven turf that you might not notice while watching the ball instead of your footing.
Battery and phone placement matter for safety too, not just footage quality. A phone mounted too close to a shooting or heading drill risks damage, and a cracked screen is an expensive distraction from training. Leave enough buffer distance between the camera and your drill zone, especially for finishing work where shots can fly wide.
If you train outdoors alone, let someone know your general location and expected finish time, particularly during early morning or evening sessions with lower visibility. Keep water nearby and take the same warm-up and rest breaks you would in a coached session, since filming and reviewing between reps can tempt you to skip proper recovery while chasing one more clean take.
Finally, be mindful of who else might be in frame at a public field. Avoid capturing other people’s children or bystanders in your footage, and choose a quieter corner of the field or an off-peak time if privacy is a concern.
Audio considerations and tips for capturing clear sound
Audio is easy to ignore until you need it. If you want to hear ball contact, the sound of a clean strike, or your own verbal cues during a drill, a built-in phone microphone usually picks up more wind and ambient noise than you expect outdoors. A small external or clip-on microphone pointed toward your drill area captures contact sounds far more clearly than the phone’s internal mic from six or more meters away.
Wind is the biggest outdoor audio problem. A foam windscreen on an external mic cuts most of that noise, and positioning the camera so wind blows across rather than directly into the microphone helps even without extra gear. If you are reviewing footage for the sound of clean contact, which some players use to judge strike quality, try to film with minimal background noise like traffic or other training groups nearby.

For most technical review, audio is secondary to video, so do not let perfect sound chase you into a worse camera angle or position. A slightly muffled recording with correct framing still teaches you more than crisp audio from an angle that hides your plant foot.
Tips for editing and compiling footage to track progress
Editing does not need to be complicated to be useful. The goal is comparison over time, not a polished reel, so a simple folder structure organized by date and drill type matters more than fancy transitions. Group clips into folders like “shooting” or “first touch” so you can pull up three months of the same drill side by side and actually see change.
Trim clips down to just the rep and a couple of seconds before and after, which keeps files small and makes scanning through a month of sessions fast rather than tedious. Many phone editing apps let you place two clips side by side, an easy way to compare your form this month against last month on the same drill.
Keep a short caption or voice memo with each saved clip noting what you were working on. Months later, “weight forward on contact” attached to a clip tells you far more than the filename alone. If you are building a longer highlight compilation for recruitment or personal tracking, save your best reps into a separate folder as you go rather than scrubbing through everything at the end of a season looking for highlights you half-remember.
Best software and tools for video analysis and slow motion review
Most smartphones now include basic slow-motion playback and frame-by-frame scrubbing built into the native camera and photos apps, which covers a surprising amount of solo review work without any extra download. For deeper analysis, dedicated sports video apps add side-by-side comparison, angle-drawing tools to check joint alignment, and slow-motion scrubbing with frame counters.
Research on single-camera shot assessment found that smartphone footage at 1080p and 60 fps, combined with engineered movement features, could approach coach-level feedback on shot quality without needing a multi-camera studio setup. That is a useful reminder that the software layered on top of decent footage matters as much as expensive camera gear.
For coaches and more detailed match or session breakdowns, a structured analysis checklist can help translate raw clips into specific technical cues worth tracking across sessions, rather than just watching footage passively.
Recommended camera equipment and accessories
A smartphone remains the most practical camera for solo training, since it combines solid video quality with built-in editing and sharing. A tripod with an adjustable phone mount is the one accessory worth prioritizing above all others, since consistent height and angle make week-to-week comparison possible. Look for a tripod that extends to at least hip height and has a wide, stable base for outdoor turf.
Gear guidance for parents and coaches points to a few additions worth considering as your setup grows: a clip-on wide-angle lens for tighter spaces, a small external microphone for clearer contact sound, and a remote shutter trigger or wearable button so you are not running back to the phone between every rep. Action cameras suit wider framing for full-field dribbling circuits but generally capture less facial and footwork detail than a smartphone at close range.
None of this needs to be expensive to be useful. A phone, a sturdy tripod, and a reliable save workflow cover the vast majority of what solo technical review requires.
Technology helps, but only with a clear question
Film with intent, not just to collect footage. One correction per set, tested immediately, teaches more than an hour of unreviewed clips ever will. Technology multiplies deliberate practice; it does not replace it.
— John
A simpler way to capture consistent solo footage
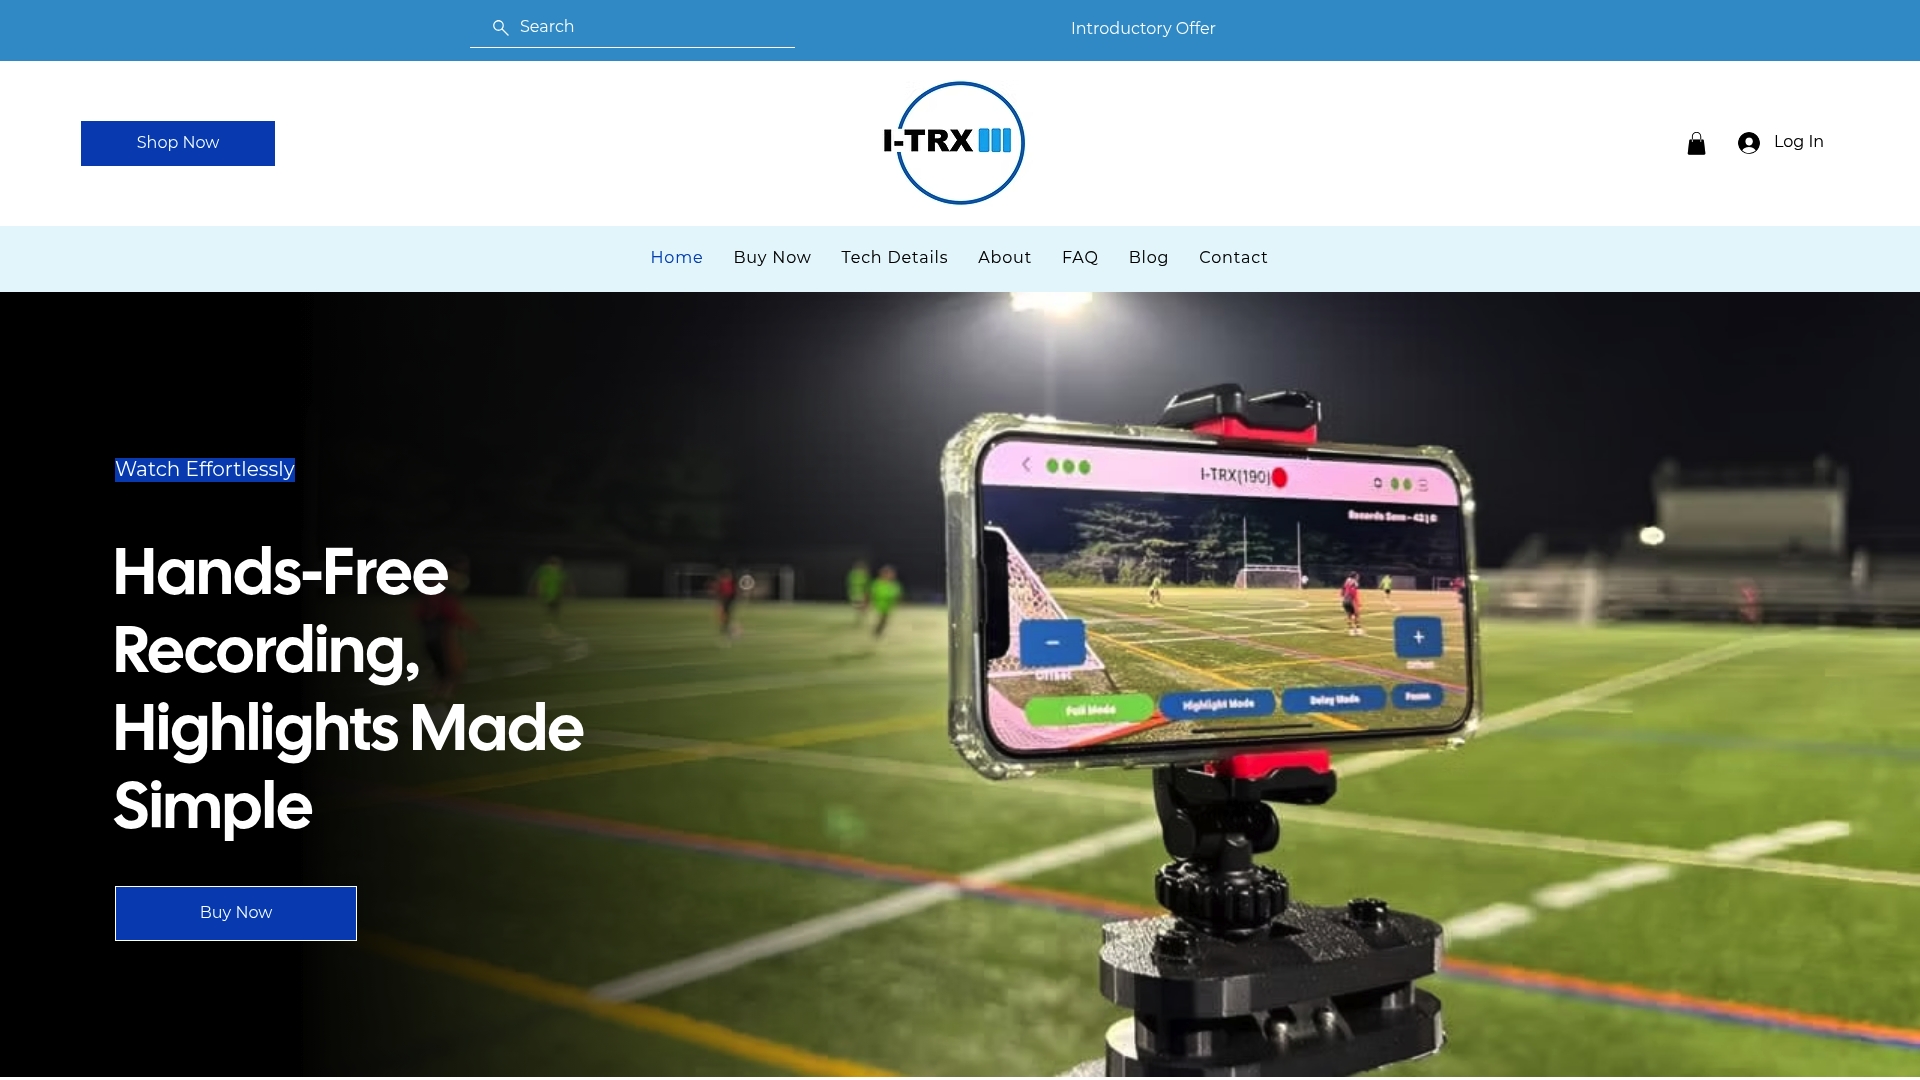
For solo athletes and parents who would rather skip the tripod repositioning and manual saves, I-TRX uses a wearable sensor to keep the camera locked on one player automatically, saving highlights straight to an iPhone with no monthly fees. If that sounds like less hassle than running your own setup, the Automated Player Tracking Camera is available for $849 one-off.
FAQ
What camera settings work best for solo soccer training?
Shoot at 1080p resolution and 60 frames per second for most drills, since this frame rate captures fast footwork and contact clearly without excessive file size. For slower technical drills like receiving, 30 fps is usually acceptable, while quick cuts, jumps, or shots benefit from the higher frame rate.
Where should I place the camera for the clearest technical feedback?
A side-on position at hip height, six to twelve meters back, works for most drills including shooting, passing, and first touch. Dribbling and 1v1 moves are better captured from a 30 to 45 degree oblique angle that shows both your run-up and the ball’s path.
How many reps should I save per drill?
Rather than saving everything, aim to keep your best two or three reps out of every ten attempts, tagged with a short note on what made them clean. This keeps review manageable and avoids hours of scrubbing through footage after a session.
Does frame rate actually affect how useful the footage is?
Yes. A peer-reviewed comparison found that 120 fps produced more accurate measurements of knee and trunk motion than 30 fps, particularly for fast movements like cutting and landing. For general technical review, 60 fps offers a practical middle ground between detail and manageable file size.
Is an automated tracking camera worth it for solo training?
It depends on what you need. A tripod and buffer workflow gives more control over exact framing for structured drill work, while an automated system like I-TRX removes the need to manually reposition or trigger the camera, which suits parents filming games or athletes training without a second person around.
Sources
Comments